
OK, first off, my iPhone is fine.
The cover, though, it has a little spray paint on it. Oh well. My punishment, I guess, for trying to be “crafty.”
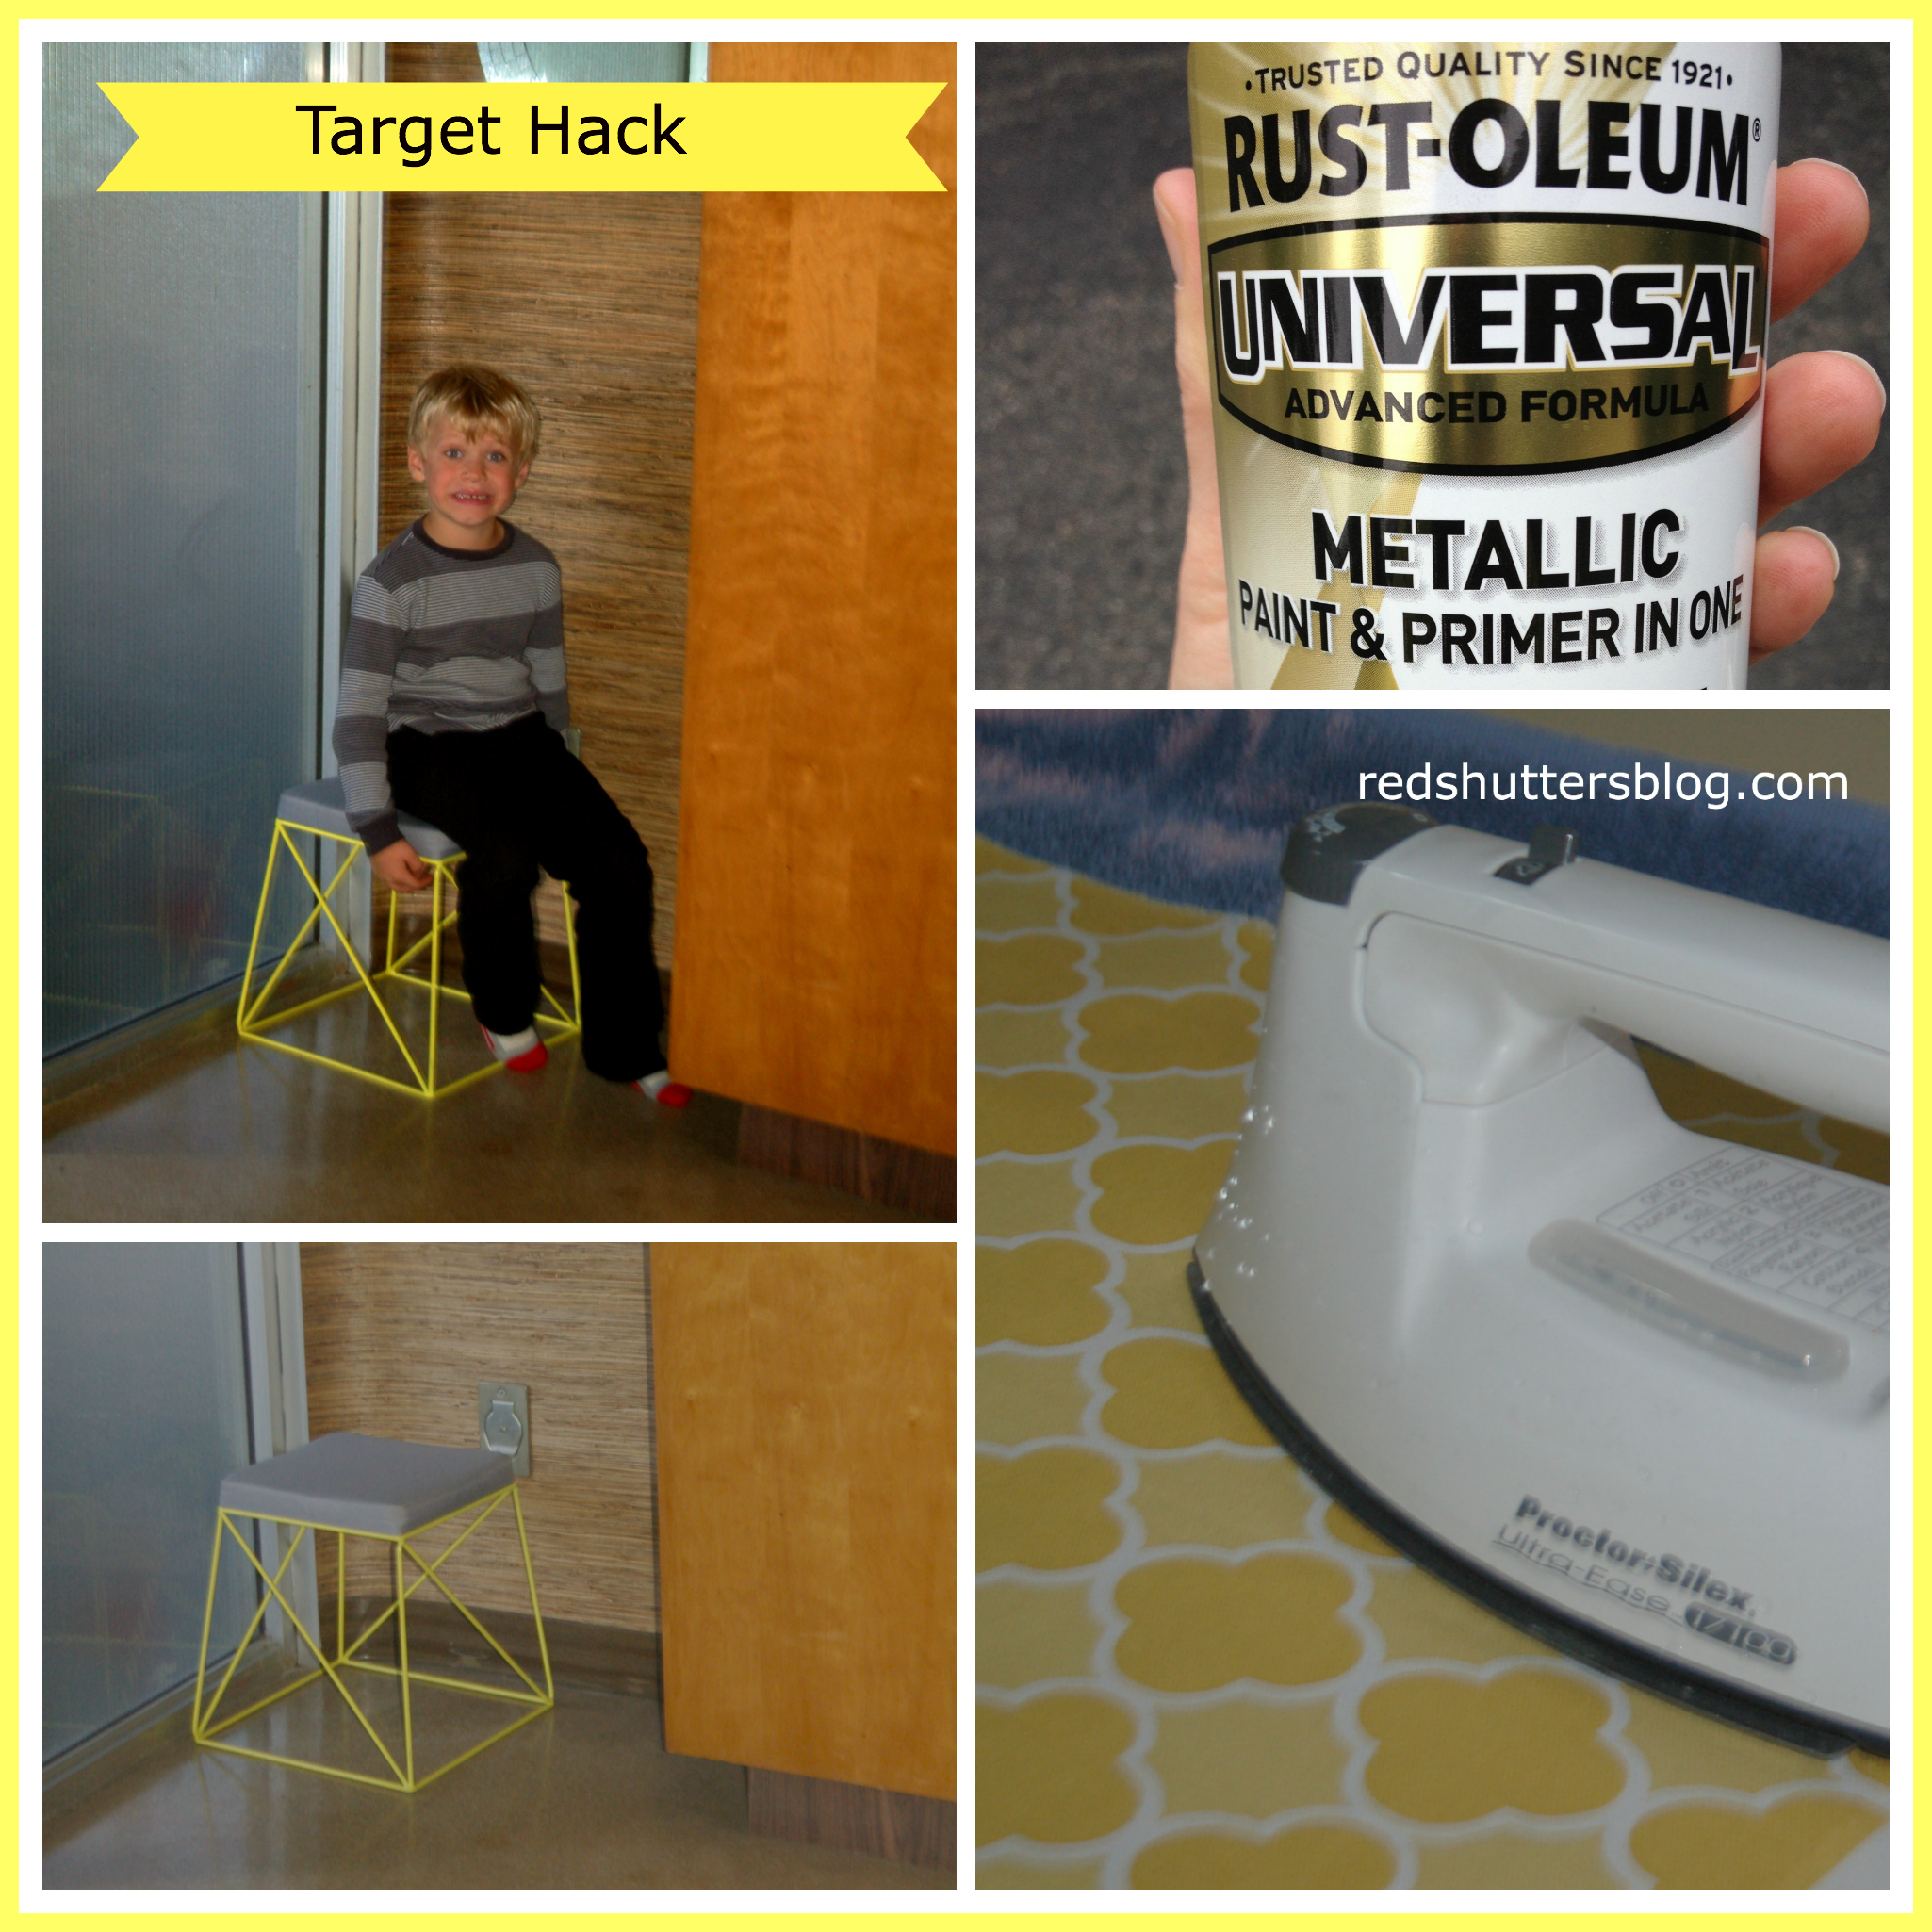
It all started in the sale aisle in Target. I found two stools–for $5.98 each! That’s my son sitting on one of them below. I had been looking for seating for our foyer. I wanted something for people to sit on while they took on and off their shoes, and it had to be low enough for kids and high enough for adults. I’m also a symmetry kind of person, so I wanted two of whatever I found.
Oh, and I didn’t want to spend a lot of money.
When I saw the stools, the price was perfect (under $12 plus tax), but the color was all wrong (I don’t care how “hot” neon is, it’s so not me).
But when I flipped over the stools, I saw how easy it would be to unscrew the seat to spray paint the metal on the bottom. And, I have a staple gun and extra fabric at home, so I was inspired by my favorite crafty/DIY blogs* to make these stools my own, making my Target purchase, a Target “hack.”
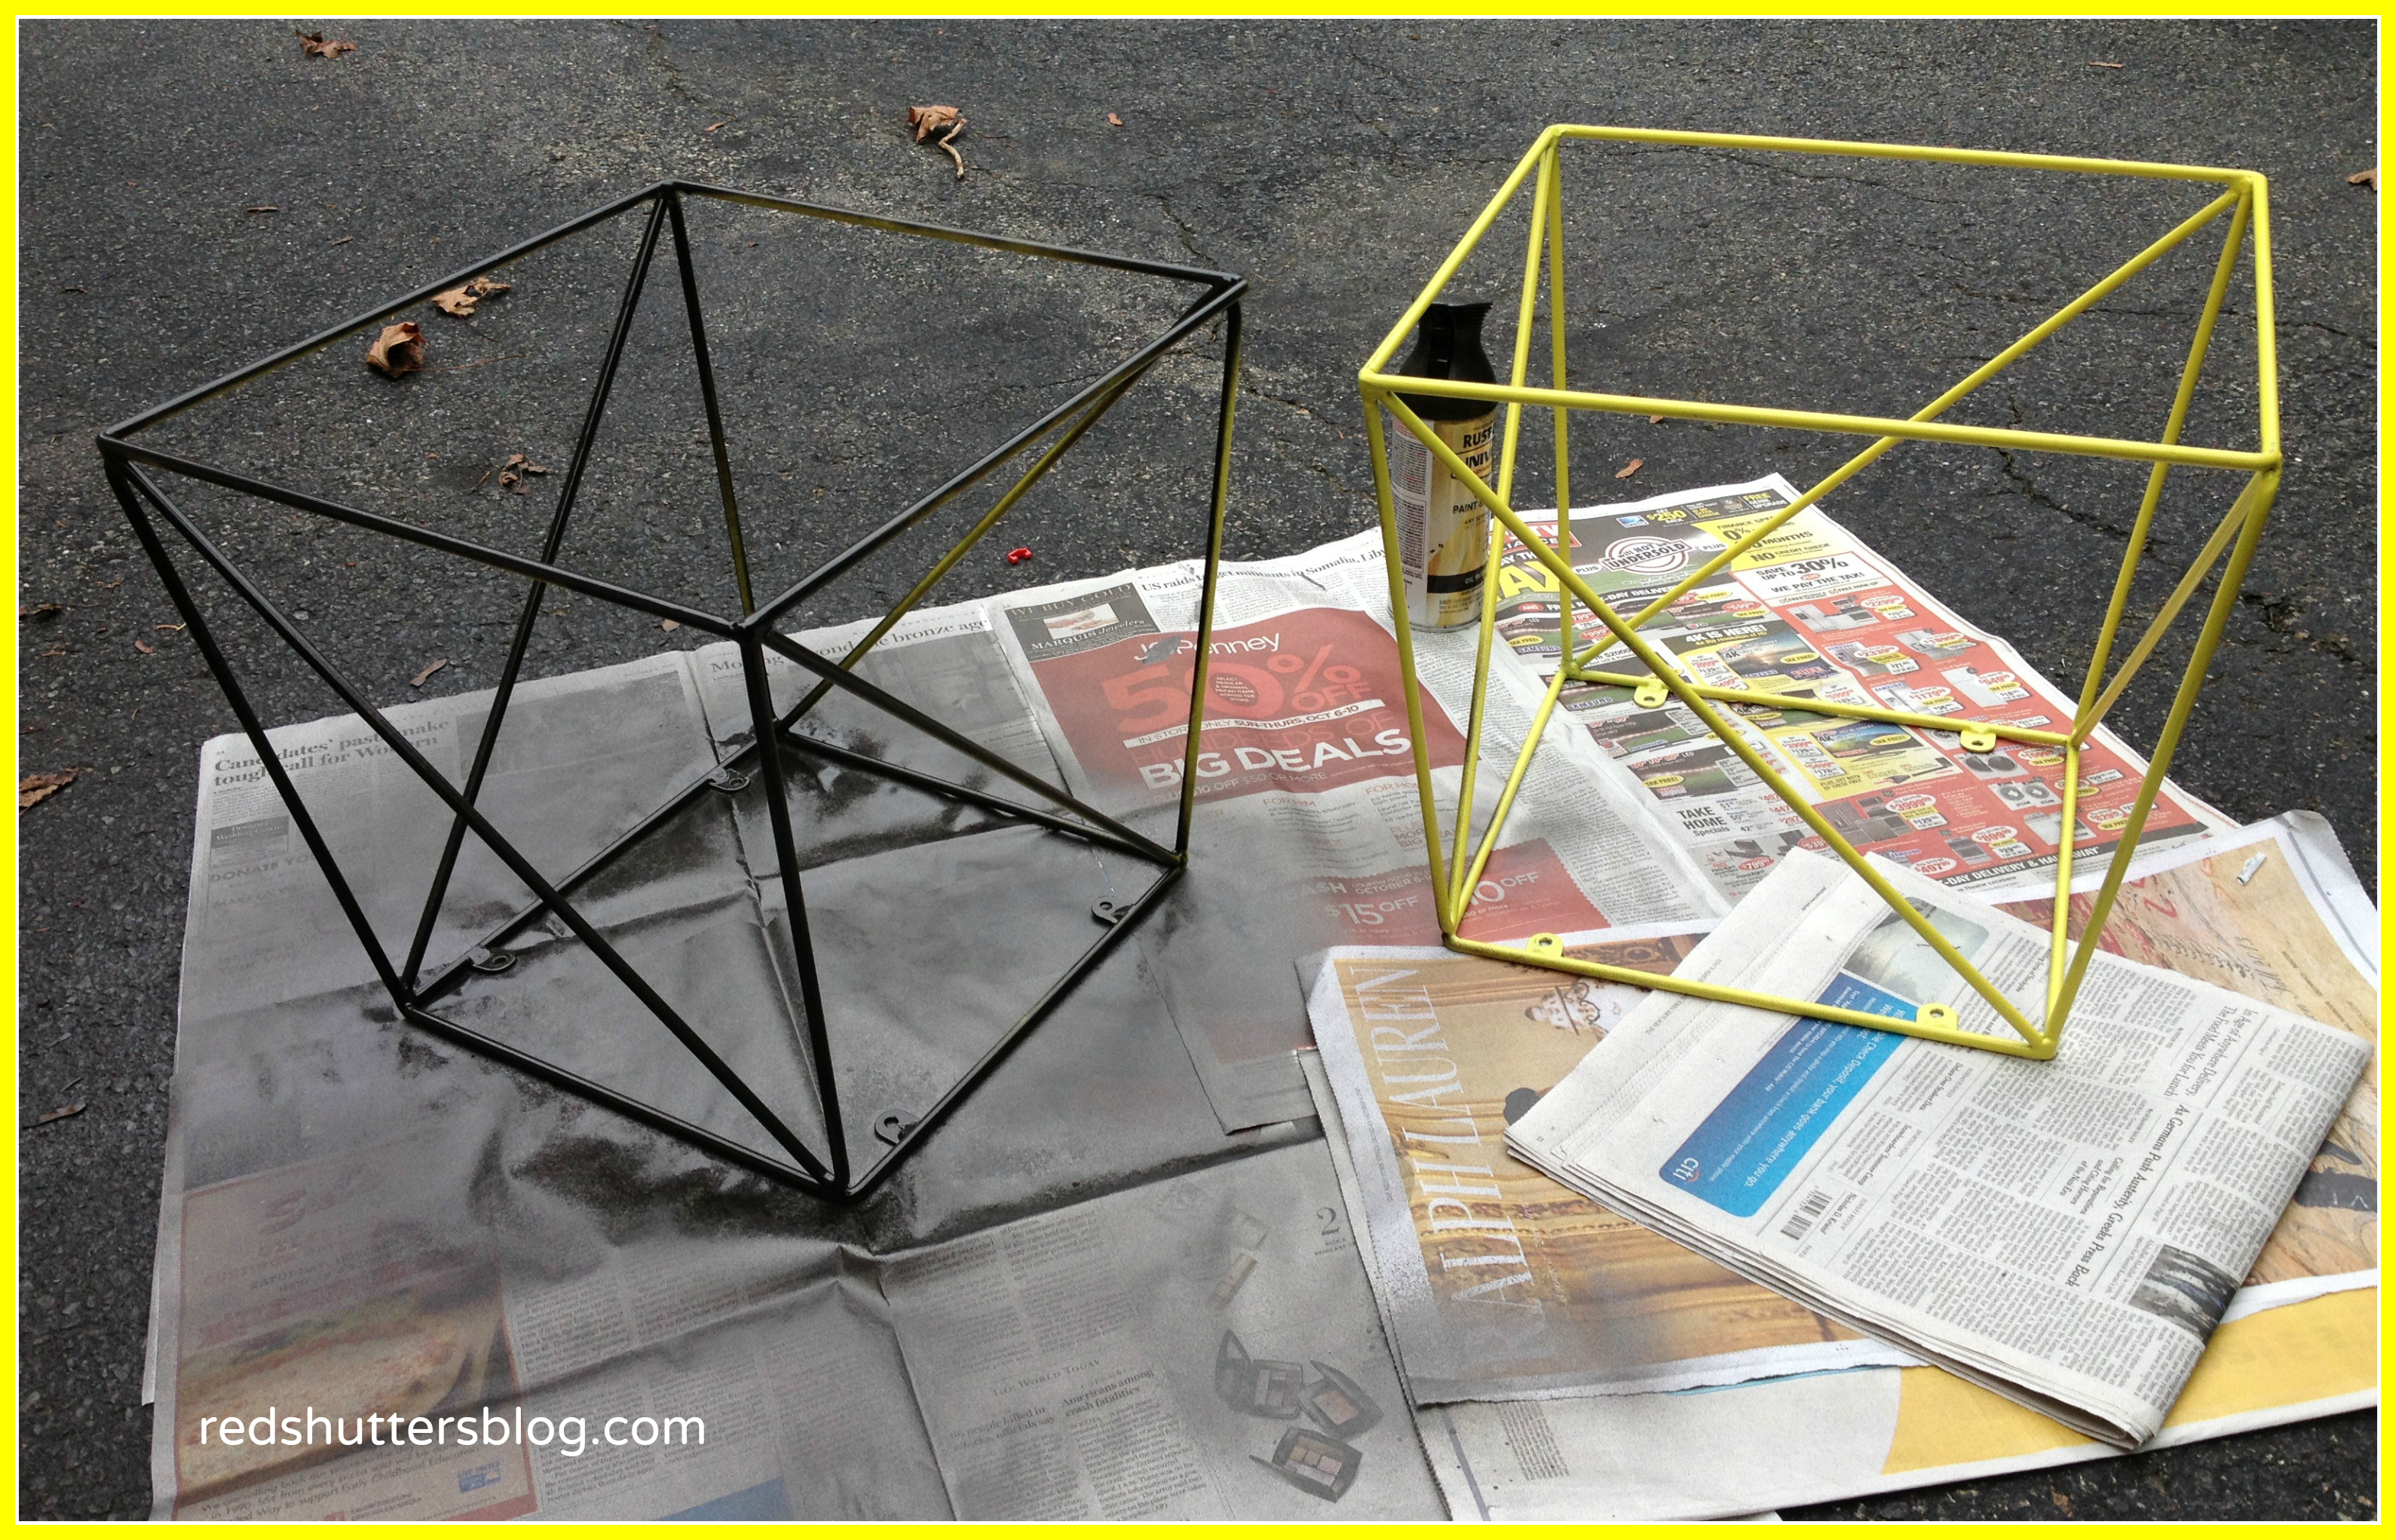
Using an expectedly found Home Depot gift card, my husband picked up a can of Rust-Oleum’s spray paint, which has primer and paint in one (so it cost me $0!). I requested a brassy color; he got Oil Rubbed Bronze, which turned out to be darker than I wanted but better than I thought it would be–richer, warmer. Then, on a Sunday afternoon, I sprayed away on my front driveway.
So much better, right?
Oh, and this is where I spray painted my iPhone. I left it too close to the path of the paint, and voila! I have a new look for my phone. Thankfully, it still works.
I hadn’t spray painted furniture before, and despite reading about tips on many blogs, I still broke some rules. Namely, I was way too impatient for it to dry! And, I misjudged how much spray paint I needed. In fact, I still need to get another can to do some touch ups.
Next, I had to work on the seat, which was super easy. I pulled out some fabric that was leftover from a window treatment I had sewn for our old house. I ironed it and cut enough fabric to wrap around the seat. I made sure to fold the corners in a way that looked professional–kind of like wrapping a present–and stapled away. This part was probably the most fun.
Bang! Bang! Bang!
When the paint was dry, I screwed the seat back in and placed sticky fabric pads on each corner (though next time, I’d use something clear), so the stools can slide without scraping up the floor.
The final product…
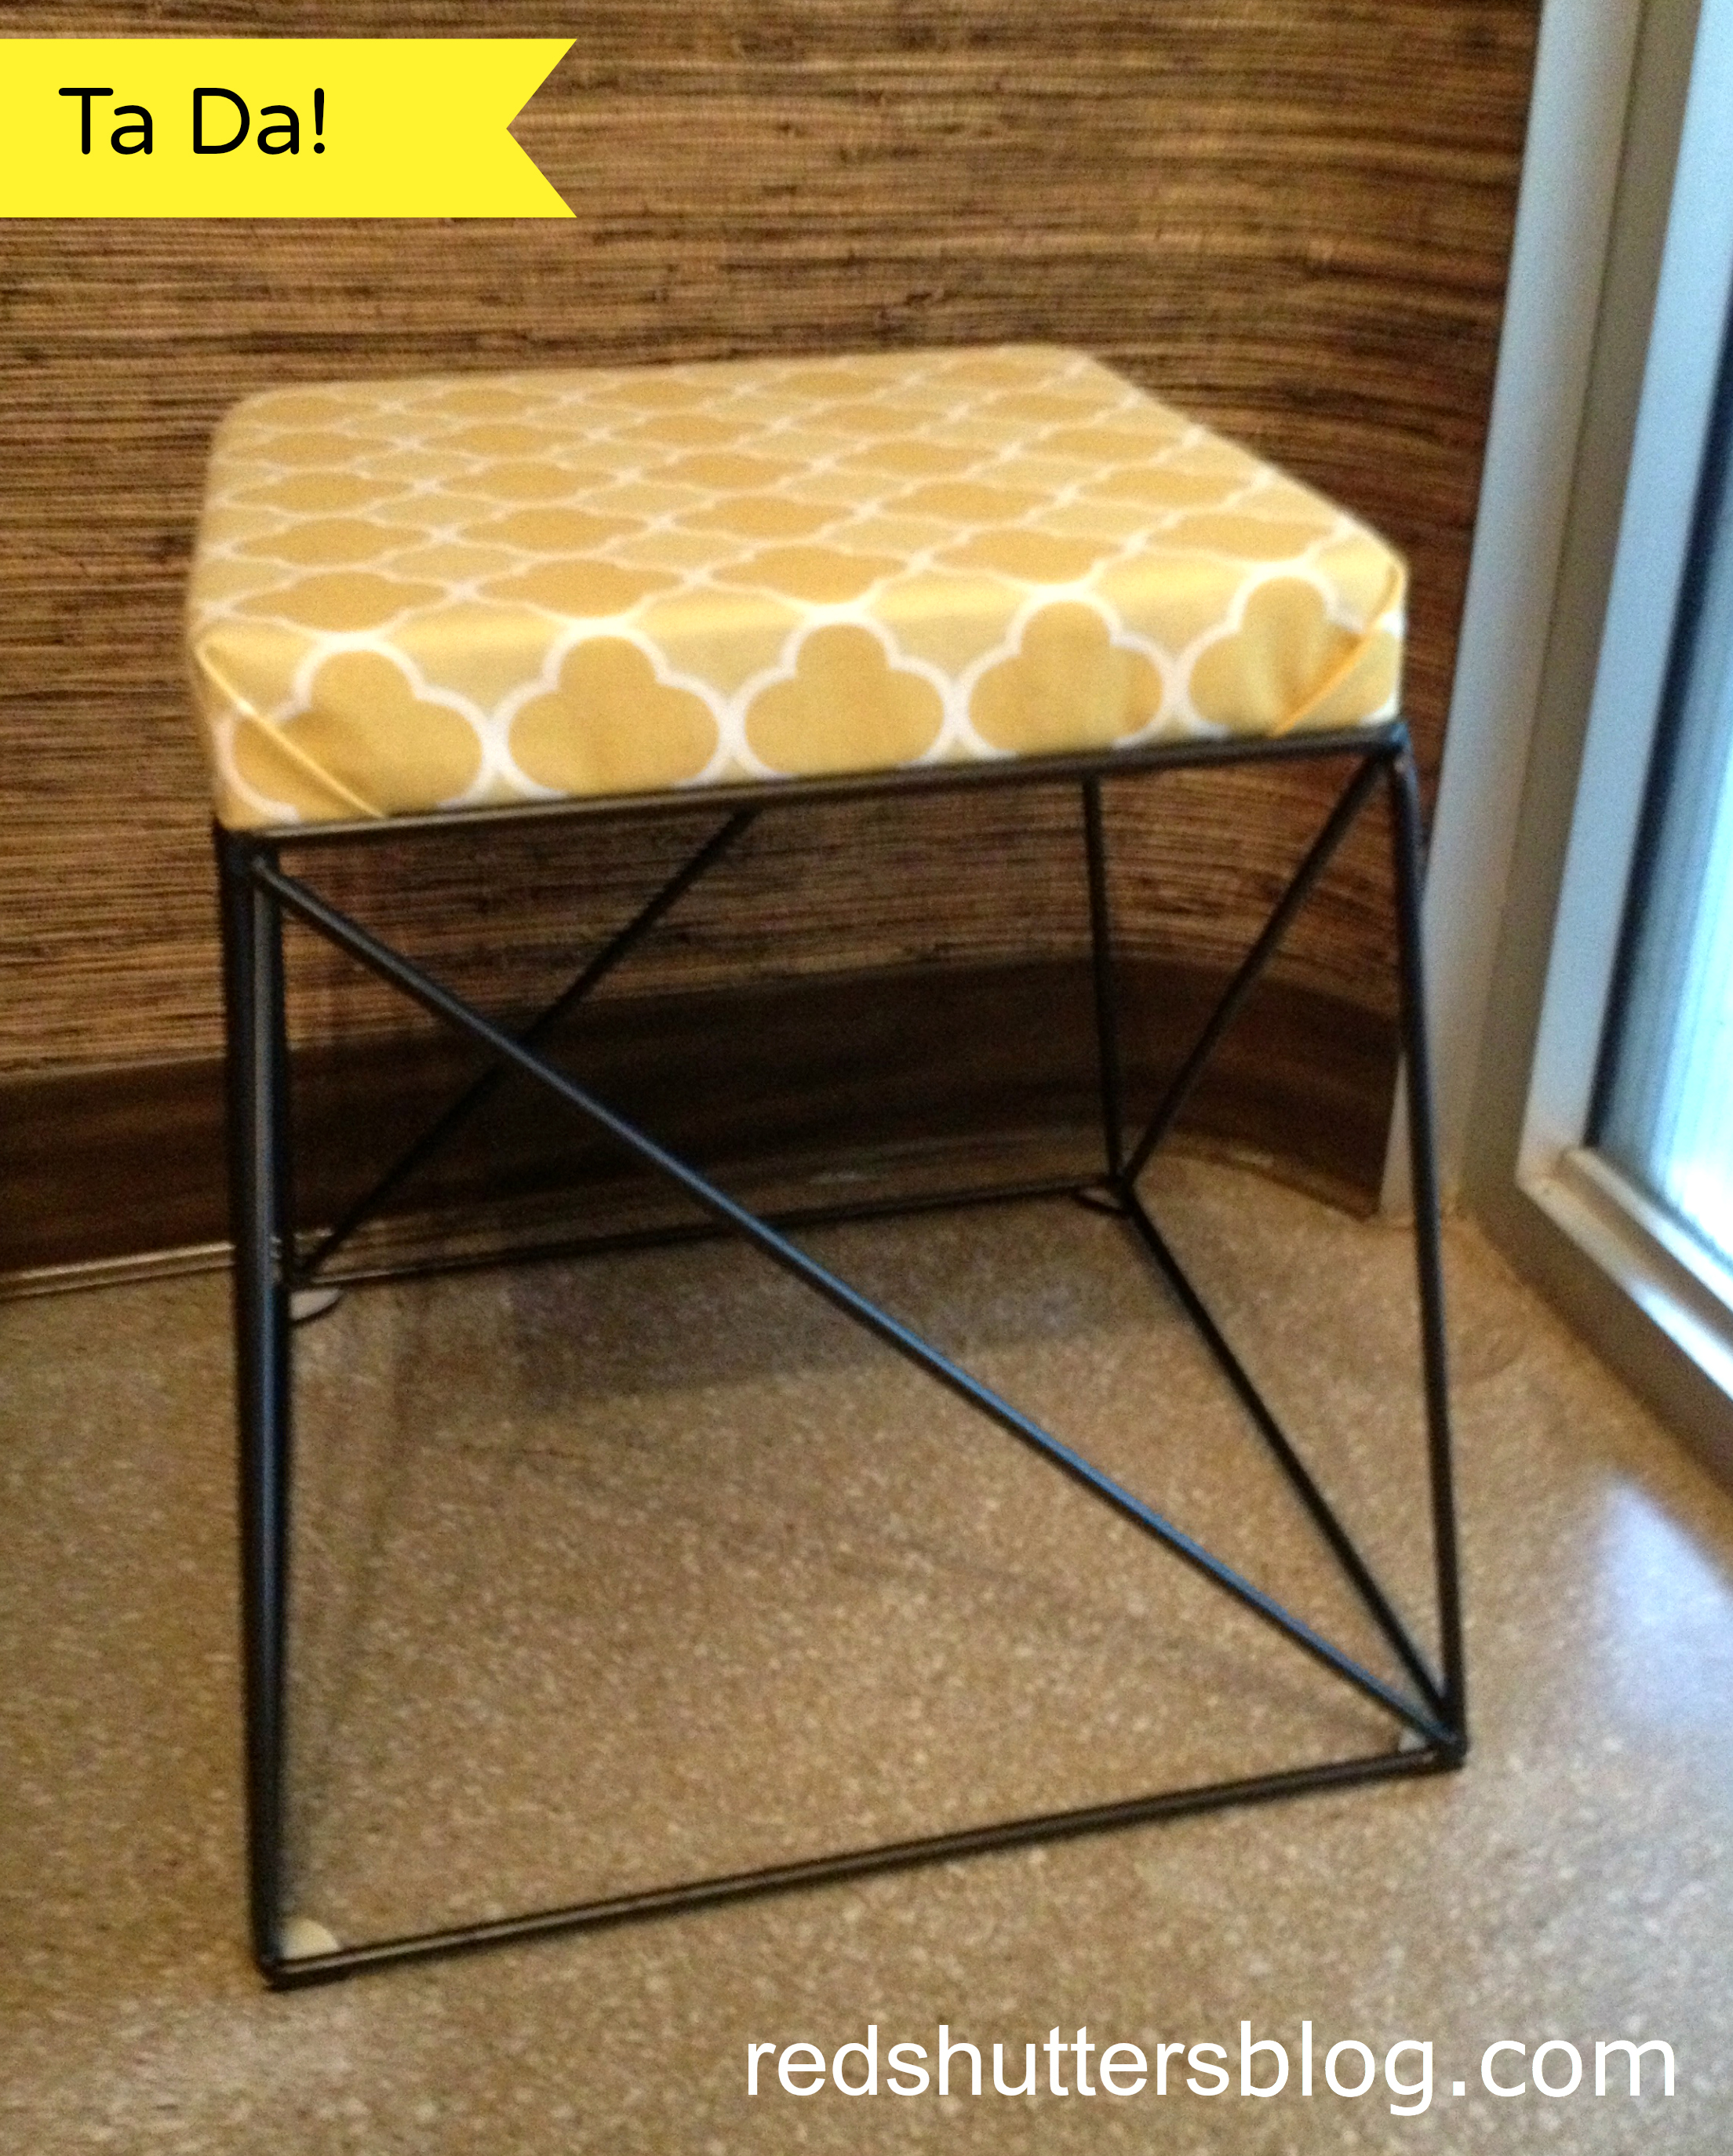
Looks pretty good, right? I’m pleased with how they came out, and even more pleased that we actually use them each day. I imagine the fabric will take a beating this winter with kids and their winter boots, but that won’t be a problem: I can unstaple the fabric to wash it or replace it. And again: this project (since I had so many of the items already and since I found that gift card), cost just $12 (plus tax)! (Though, I may want to look into getting a new iPhone cover.)
Does this project make me a crafty/DIY blogger? Nope, just someone who wants her house to be prettier. However, now that I’m experienced with a spray paint can, the rest of the furniture in my house might want to be scared.
* I read a gazillion design/crafty/DIY blogs, and some of my favorites are 4 Men 1 Lady, Centsational Girl, House Tweaking, Little Green Notebook, and Young House Love.